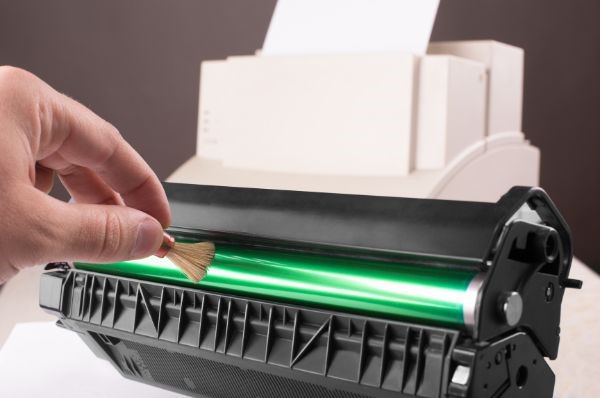
Cleaning laser printers isn’t like cleaning your socks. You can’t just toss it in a washing machine and let it go. Although tossing a laser printer in a washer does sounds like a lot of fun, it would ruin your printer.
Cleaning the inside of a laser printer isn’t necessarily something that needs done weekly, monthly, or even yearly. It actually depends on how much printing you do.
You should inspect your printer regularly. Whenever you add toner or clear a jam is a good time for an inspection to determine if a cleaning is necessary.
There’s bound to be a light dusting of toner inside any laser printer at any given time. You don’t need to keep the inside spotless, just keep toner from piling up around crucial components. That’s when it can cause issues or spill over into the paper path.
A print quality issue should also trigger a cleaning.
What Should and Shouldn’t be Cleaned
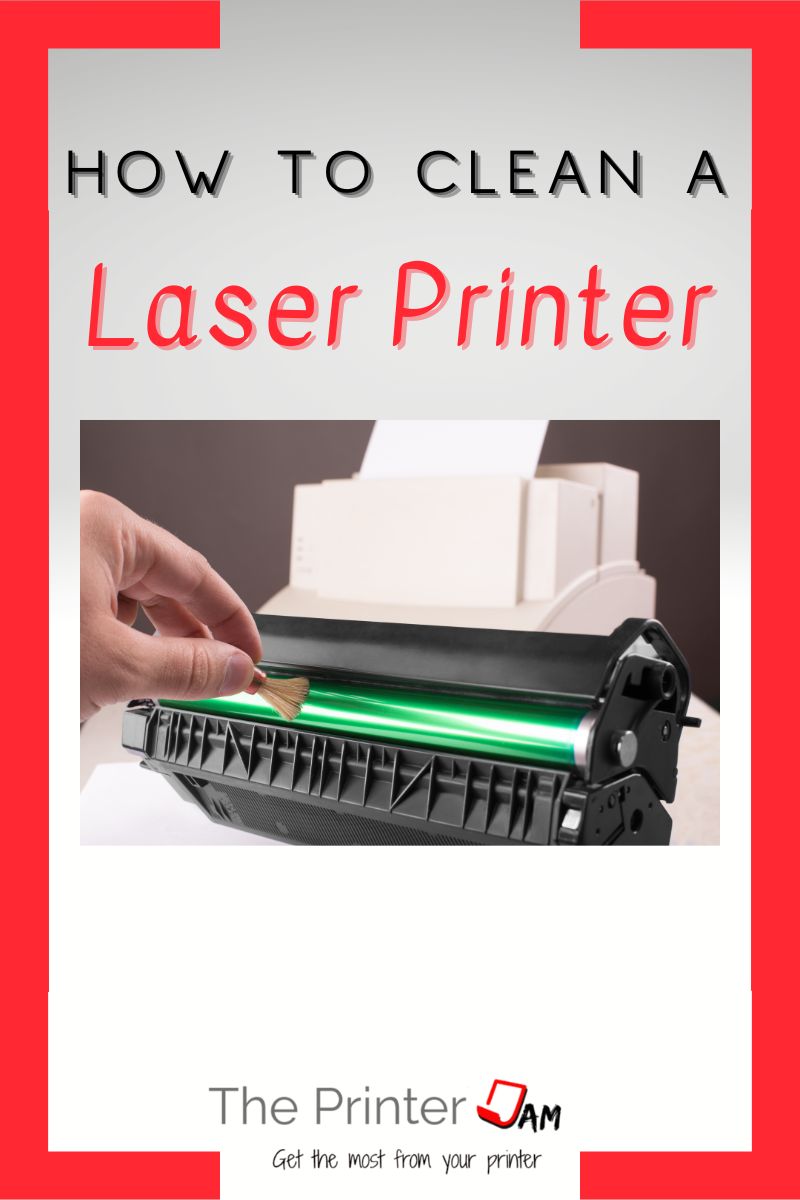
Cleaning a laser printer generally involves cleaning any build up of toner inside, cleaning electrical contacts, cleaning the charge unit, and feed rollers. Laser windows or SED units should be cleaned if your printer is equipped with them.
The drum, transfer belt, and fuser generally don’t need cleaned. Unless there’s some glue or fingerprints.
The most common items that need cleaned are:
- HV contacts
- Charge unit
- Transfer unit
- Exhaust fan filters
- Laser window
- LED fiber optic array
Items inside a laser printer that shouldn’t be touched:
- Drum
- Transfer belt
- Developer roller
- Fuser (unless it’s cooled off to room temp)
Cleaning the Outside
The best way to clean the outside of a laser printer is spraying soapy water on a paper towel. Then wiping down all the covers.
You can use 70% isopropyl alcohol to disinfect the control panel or anywhere people touch. Be sure to spray it on a rag and not pour it directly on the buttons.
If 90% isopropyl alcohol mixes with toner it will turn into a gooey sticky mess which will permanently stain plastic. 90% isopropyl alcohol also evaporates too quickly to clean with and leaves a white film on many items.
If there’s any glue from tape or a label you can use WD-40. It’s a so-so lubricant but a terrific cleaner. Spray a rag or towel with WD-40 then scrub off small amounts of glue. Let WD-40 soak on larger patches of glue. After several minutes it should come right off.
You can use a knife to scrape off any scuff marks that can’t be cleaned off otherwise.
Cleaning Inside a Laser Printer
The first step to cleaning a laser printer is getting organized. You should get your cleaning supplies ready. Then get some large towels or puppy pads ready. You’ll need somewhere to set all the components plus something to cover them.
Once you’re setup you can start removing all the components. Depending on your printer you should remove the toner cartridge, image unit, and transfer belt.
After everything is out your printer should look something like this:
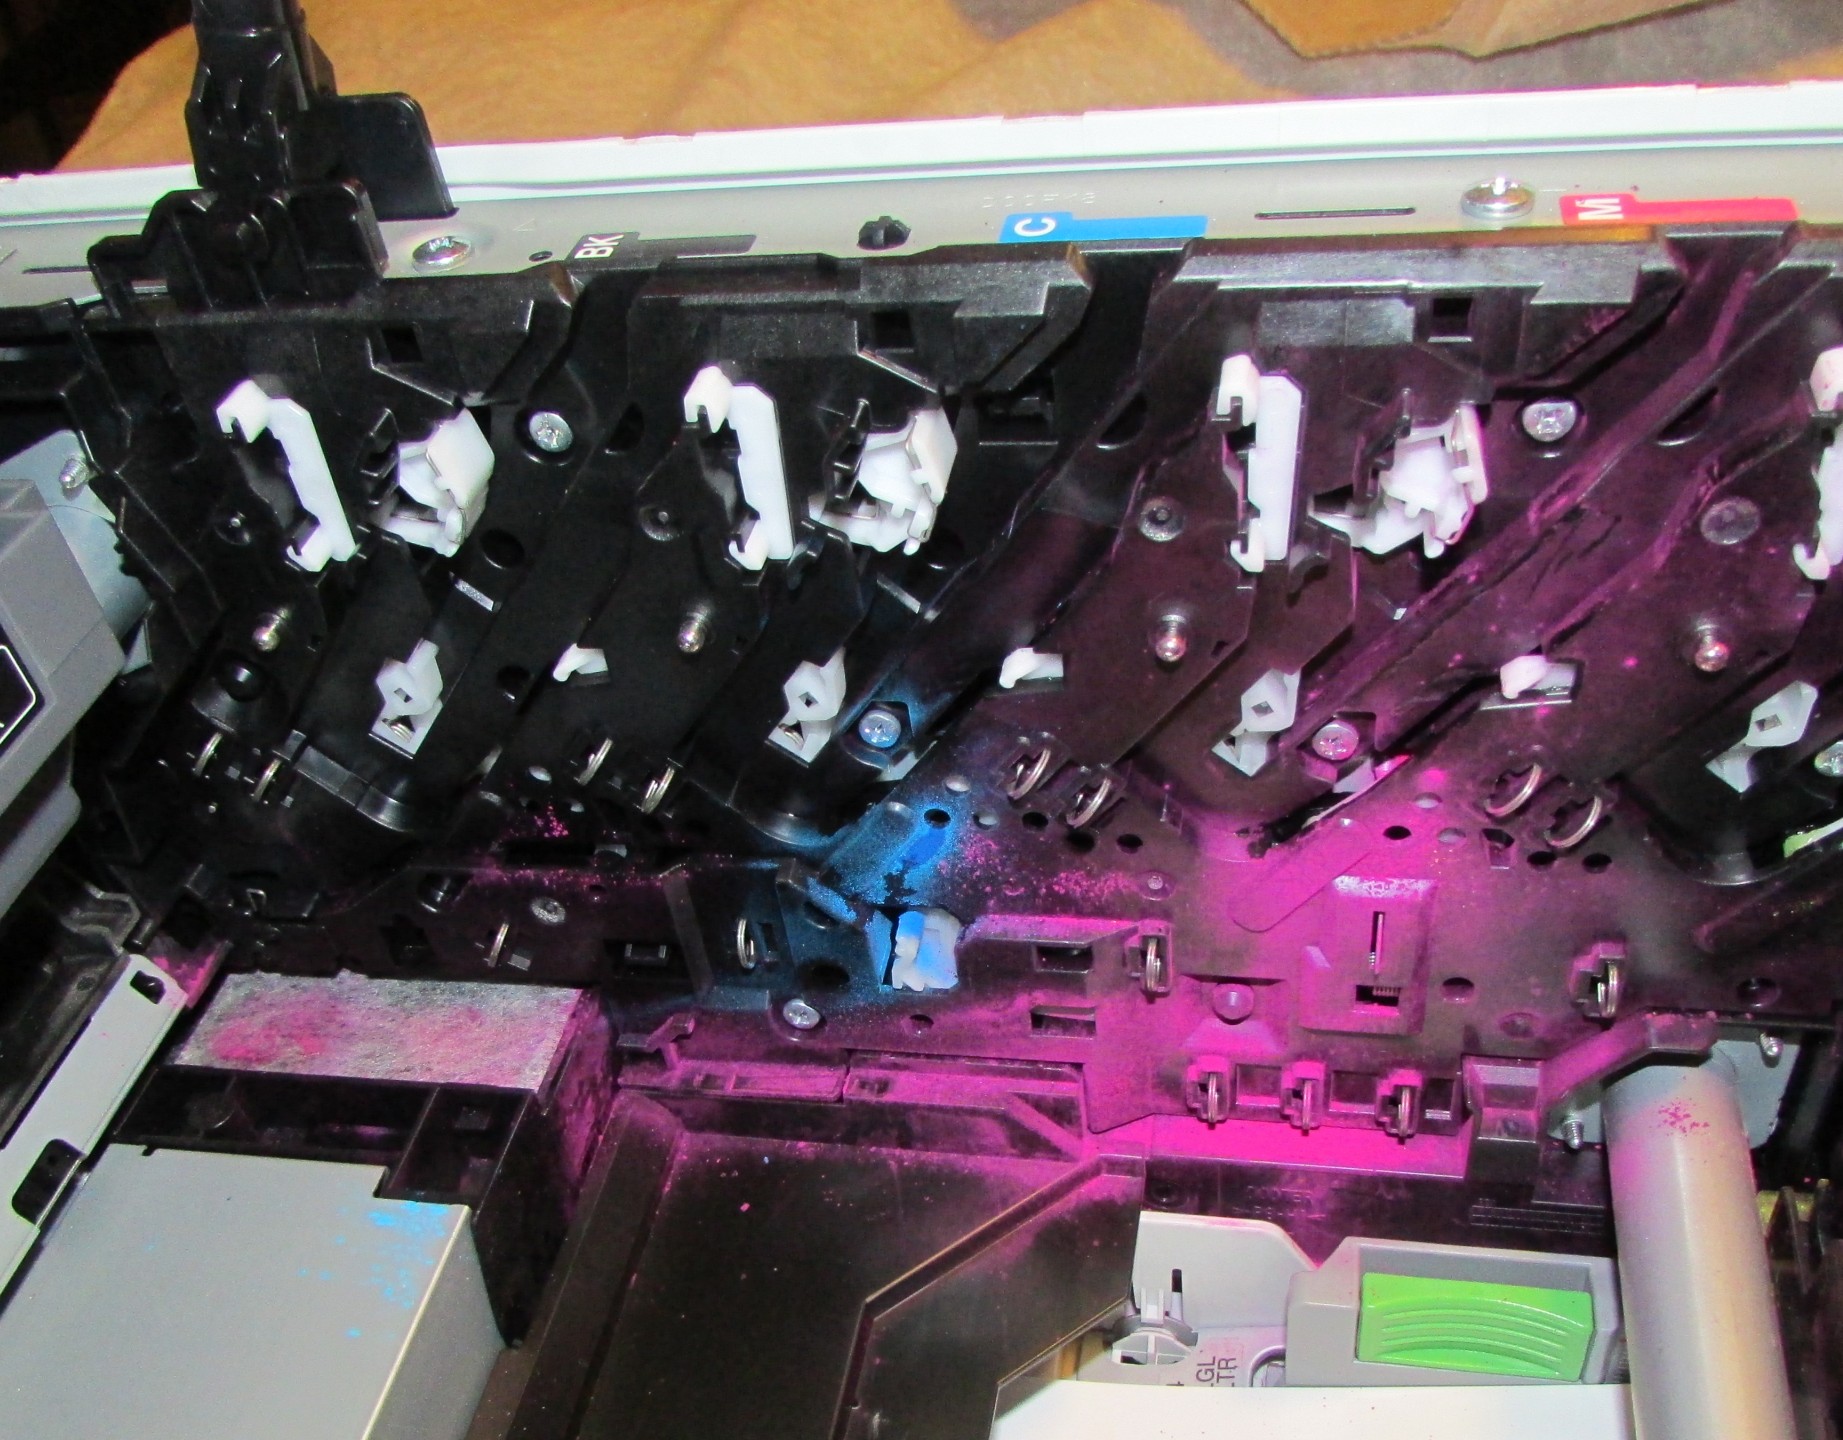
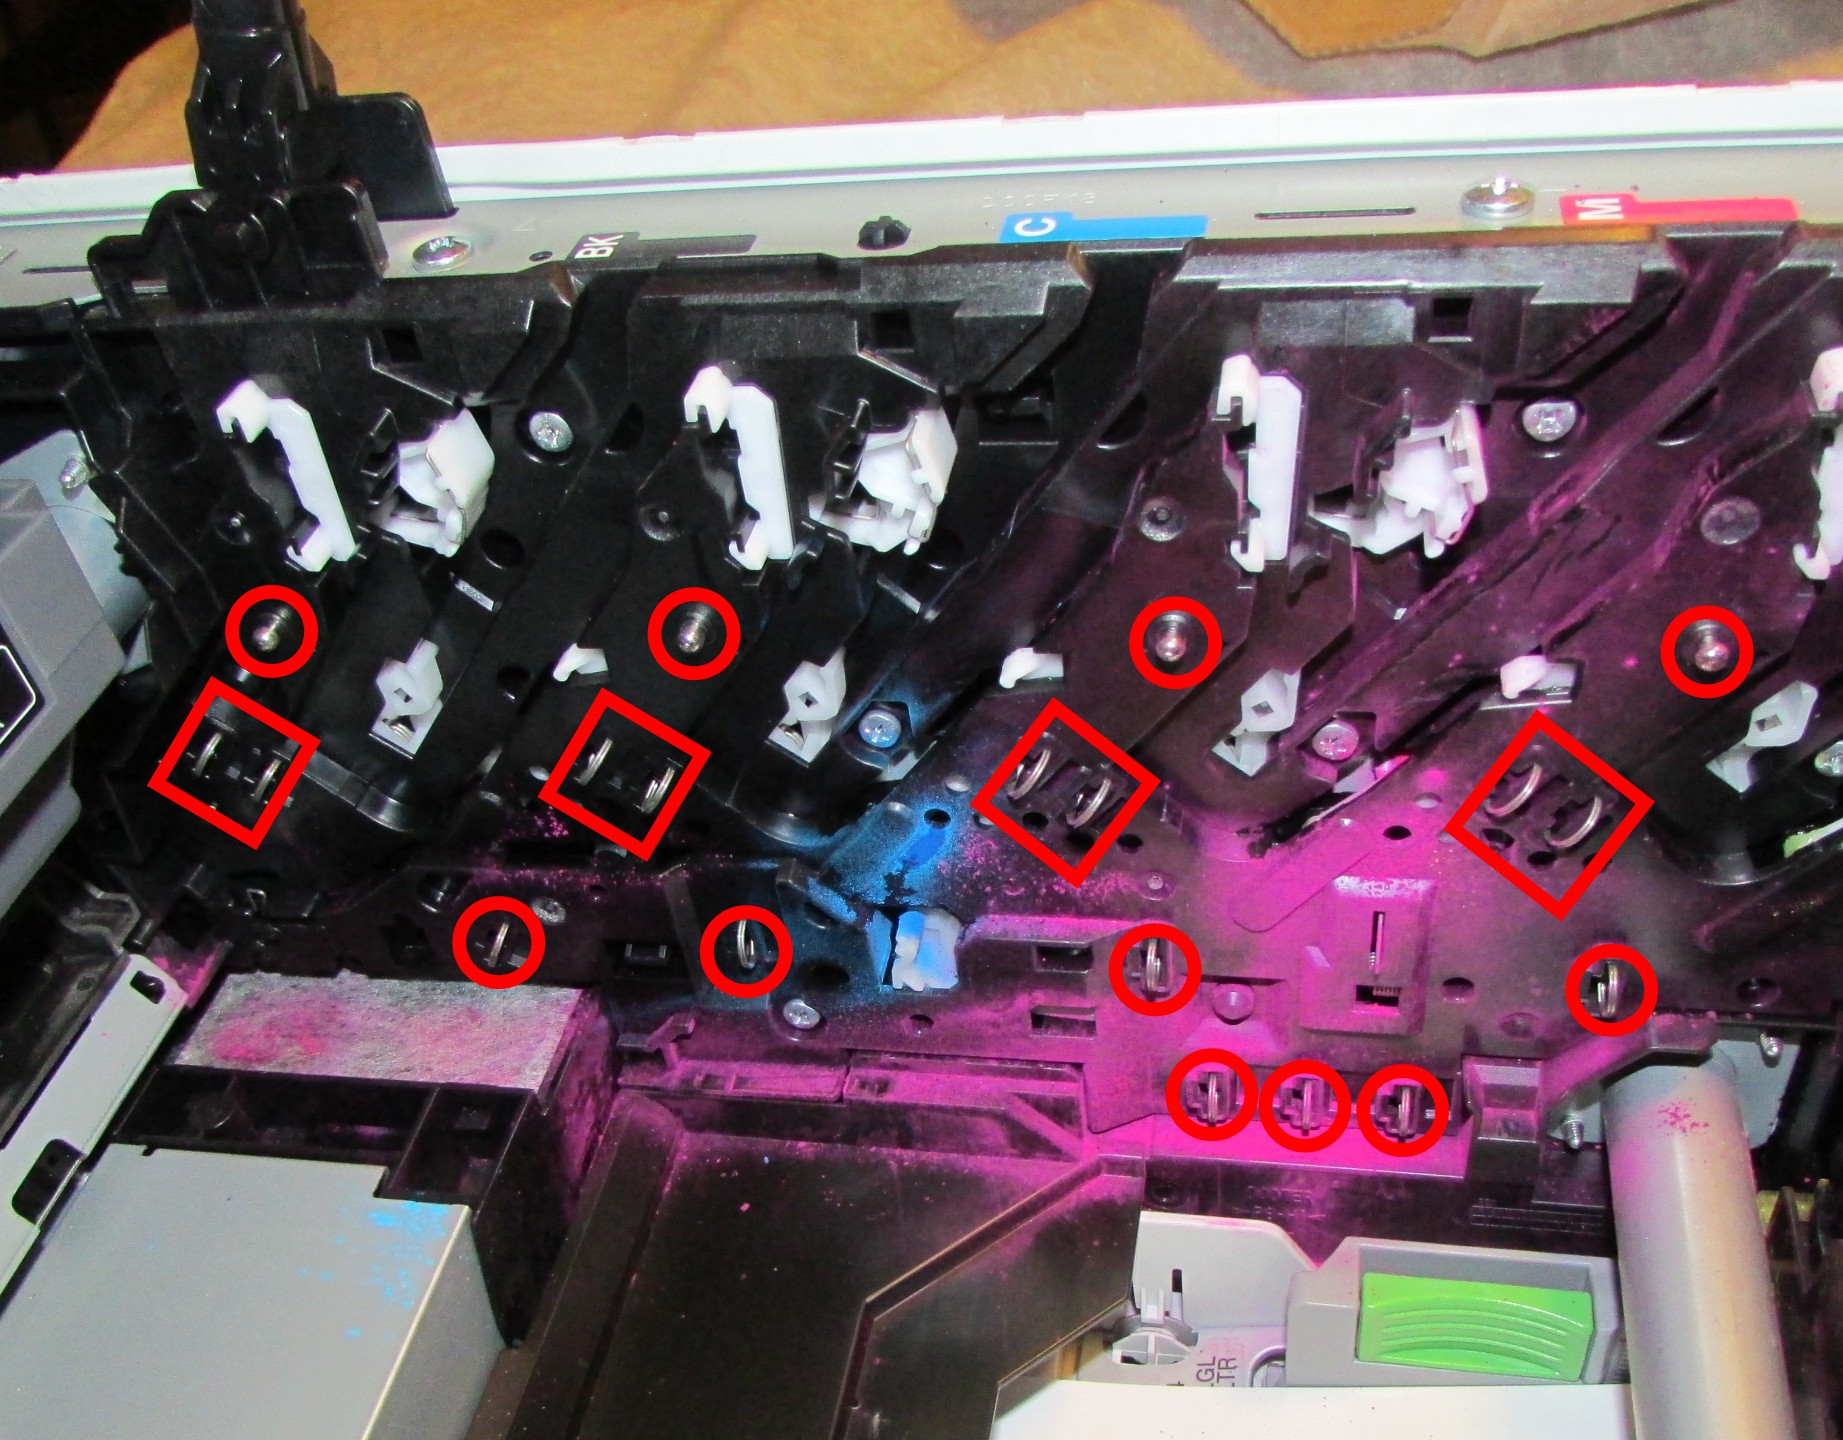
Look for all the high voltage (HV) contacts. All laser printers have contacts like the ones noted in red in the above image. Don’t worry it’s illegal for a printer to not have a door switch that cuts power. If you want you can disconnect power from the wall outlet though.
Those contacts are what needs cleaned. Any buildup of toner around those contacts also needs cleaned.
You can use a brush and dust rag to cleanup all the stray toner. A stretch n dust or damp towel (not soaking wet) are best for cleaning toner inside a laser printer.
Again, it doesn’t need to be spotless but get as much as you can. Then clean the contacts with isopropyl alcohol (70%).
The contacts are fairly flimsy so be careful. They are also prone to catch on whatever cloth or rag you use. So don’t use any material too large or frayed.
Be sure to inspect the contacts for damage or any small fibers sticking to them when you’re done.
Cleaning the Drum
While most drums don’t need cleaned, the charge roller or corona wire do need cleaned occasionally. You have to take the image unit out in order to clean the corona wire or charge roller.
Most laser printers that use a corona wire have a green, yellow, or orange slider to clean the wire. You slide it back and forth a few times which wipes off any toner from the wire.
If your printer has a charge roller, then you should use a dry microfiber cloth. Depending on your printer you can clean the roller without removing it from the image unit. For example, the HP M4001 toner cartridges need disassembled while the HP M203 has a separate image unit giving easy access to the rollers.
Use the dry microfiber cloth to wipe the part of the roller facing you. Then rotate the roller to access another section. Keep wiping and rotating until you’ve cleaned the entire roller.
If you get a finger print, you can wipe it off with a dry microfiber cloth and light pressure. Even then you have to be gentile since the surface of the drum is highly susceptible to scratching.
Cleaning Label Jams
This is a very common service call. Most of the time the labels are stuck to the registration roller or drum. Cleaning off the rollers is the easy part.
Peel of as much as you can with your fingers or a plastic scrapper. Any metal tool will damage your laser printer.
Spray WD-40 on a towel and wipe off the rest of the labels. Finally use a dry towel or damp towel to remove any excess WD-40.
While I have had success cleaning label jams off many drums. There aren’t any guarantees the drum will not have quality issues after. My experience is about a 70% success rate.
The key is not damaging the cleaning blade behind the drum or letting any chemicals touch the waste toner behind the drum. So either remove the drum completely or only work on a small area at a time.
Spray WD-40 on a microfiber towel then wipe off the glue. Once the glue is gone you can wipe the area off with 70% isopropyl alcohol. Then wipe it off with a dry towel. Once the area is completely free of any residue you can rotate the drum to access the next portion.
Keep repeating this method until the drum is clean. It takes me 10-15 minutes on average. Be sure to cover the drum periodically if it’s going to take more than 10 minutes. It only takes about 30 seconds of sunlight to damage a drum so you don’t want to work outside or around a window.
Best Practices
Mostly what you are looking for to clean are electrical contacts and excess toner. Transfer belts, developers, image units, and toner cartridges all have contact points which need cleaned. A dry towel works best.
In my experience any cleaners like ammonia, acetic acid, citric acid, or fedron tend to leave a residue or ruin components. .
Paper towels can be abrasive so I only use those on the exterior. Microfiber cloths work best for the inside parts. Cut up t shirts are great for both but be sure to remove any frayed edges.
Cotton swabs leave fibers so aren’t recommended. Toilet paper is also prone to leaving fibers.
Cleaning a laser printer isn’t difficult, you just have to be careful.
FAQ
Laser printers need cleaning periodically. If toner is allowed to build up inside a laser printer it can cause print quality issues.
Printer drums don’t need cleaned and it isn’t recommended. If you get a finger print or adhesive from a label jam, you can wipe it off with a dry microfiber cloth and light pressure. Even then you have to be gentile since the surface of the drum is highly susceptible to scratching.
You remove any cartridges and clean up any toner build up inside with a stretch and dust or wet paper towel. You can use canned air judiciously.

The Copier Guy, aka Dave. I’ve worked on scanners, printers, copiers, and faxes over 26 years. When I’m not fixing them I’m writing about them. Although, I’m probably better at fixing them. I have certificates from Canon, Xerox. Ricoh, Kyocera, Lexmark, HP, and Konica Minolta. My experience includes other brands as well as several types of processes. If it uses paper I’ve probably worked on one.
